# Connect to UART
#### At this point you should have:
* Understand what UART does (if not check: [UART](https://www.hardbreak.wiki/hardware-hacking/interface-interaction/uart))
* Identified UART pins (if not check:[ Identify UART](https://www.hardbreak.wiki/hardware-hacking/interface-interaction/uart/uart-from-start-to-finish))
## Connect to UART
You need to find the GND (ground), TX (transmit) and RX(receive) pins to send and receive data with UART (RX pin is not required to just read data).
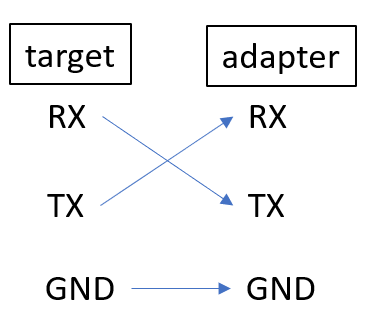
When you connect the UART-USB adapter with the UART interface on the board, you have to connect RX and TX together like this:
Connect RX to TX and TX to RX
There are different ways to connect to identified test pads:
{% tabs %}
{% tab title="Pins/Holes" %}
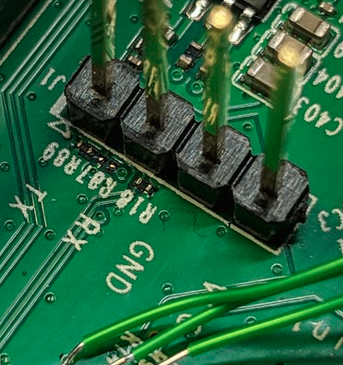
If you are lucky, you find header pins where you can connect jumper cables to it. This is the easiest way to connect your UART-to-TTL USB adapter to an UART interface.
Header pins exposed, connect jumper cables here
If your device has holes in the pcb for the UART connection, you can attempt to put jumper cables through it and tilt them, so they have a solid contact point:
Put the male pins through the connector holes
{% endtab %}
{% tab title="Clamps" %}
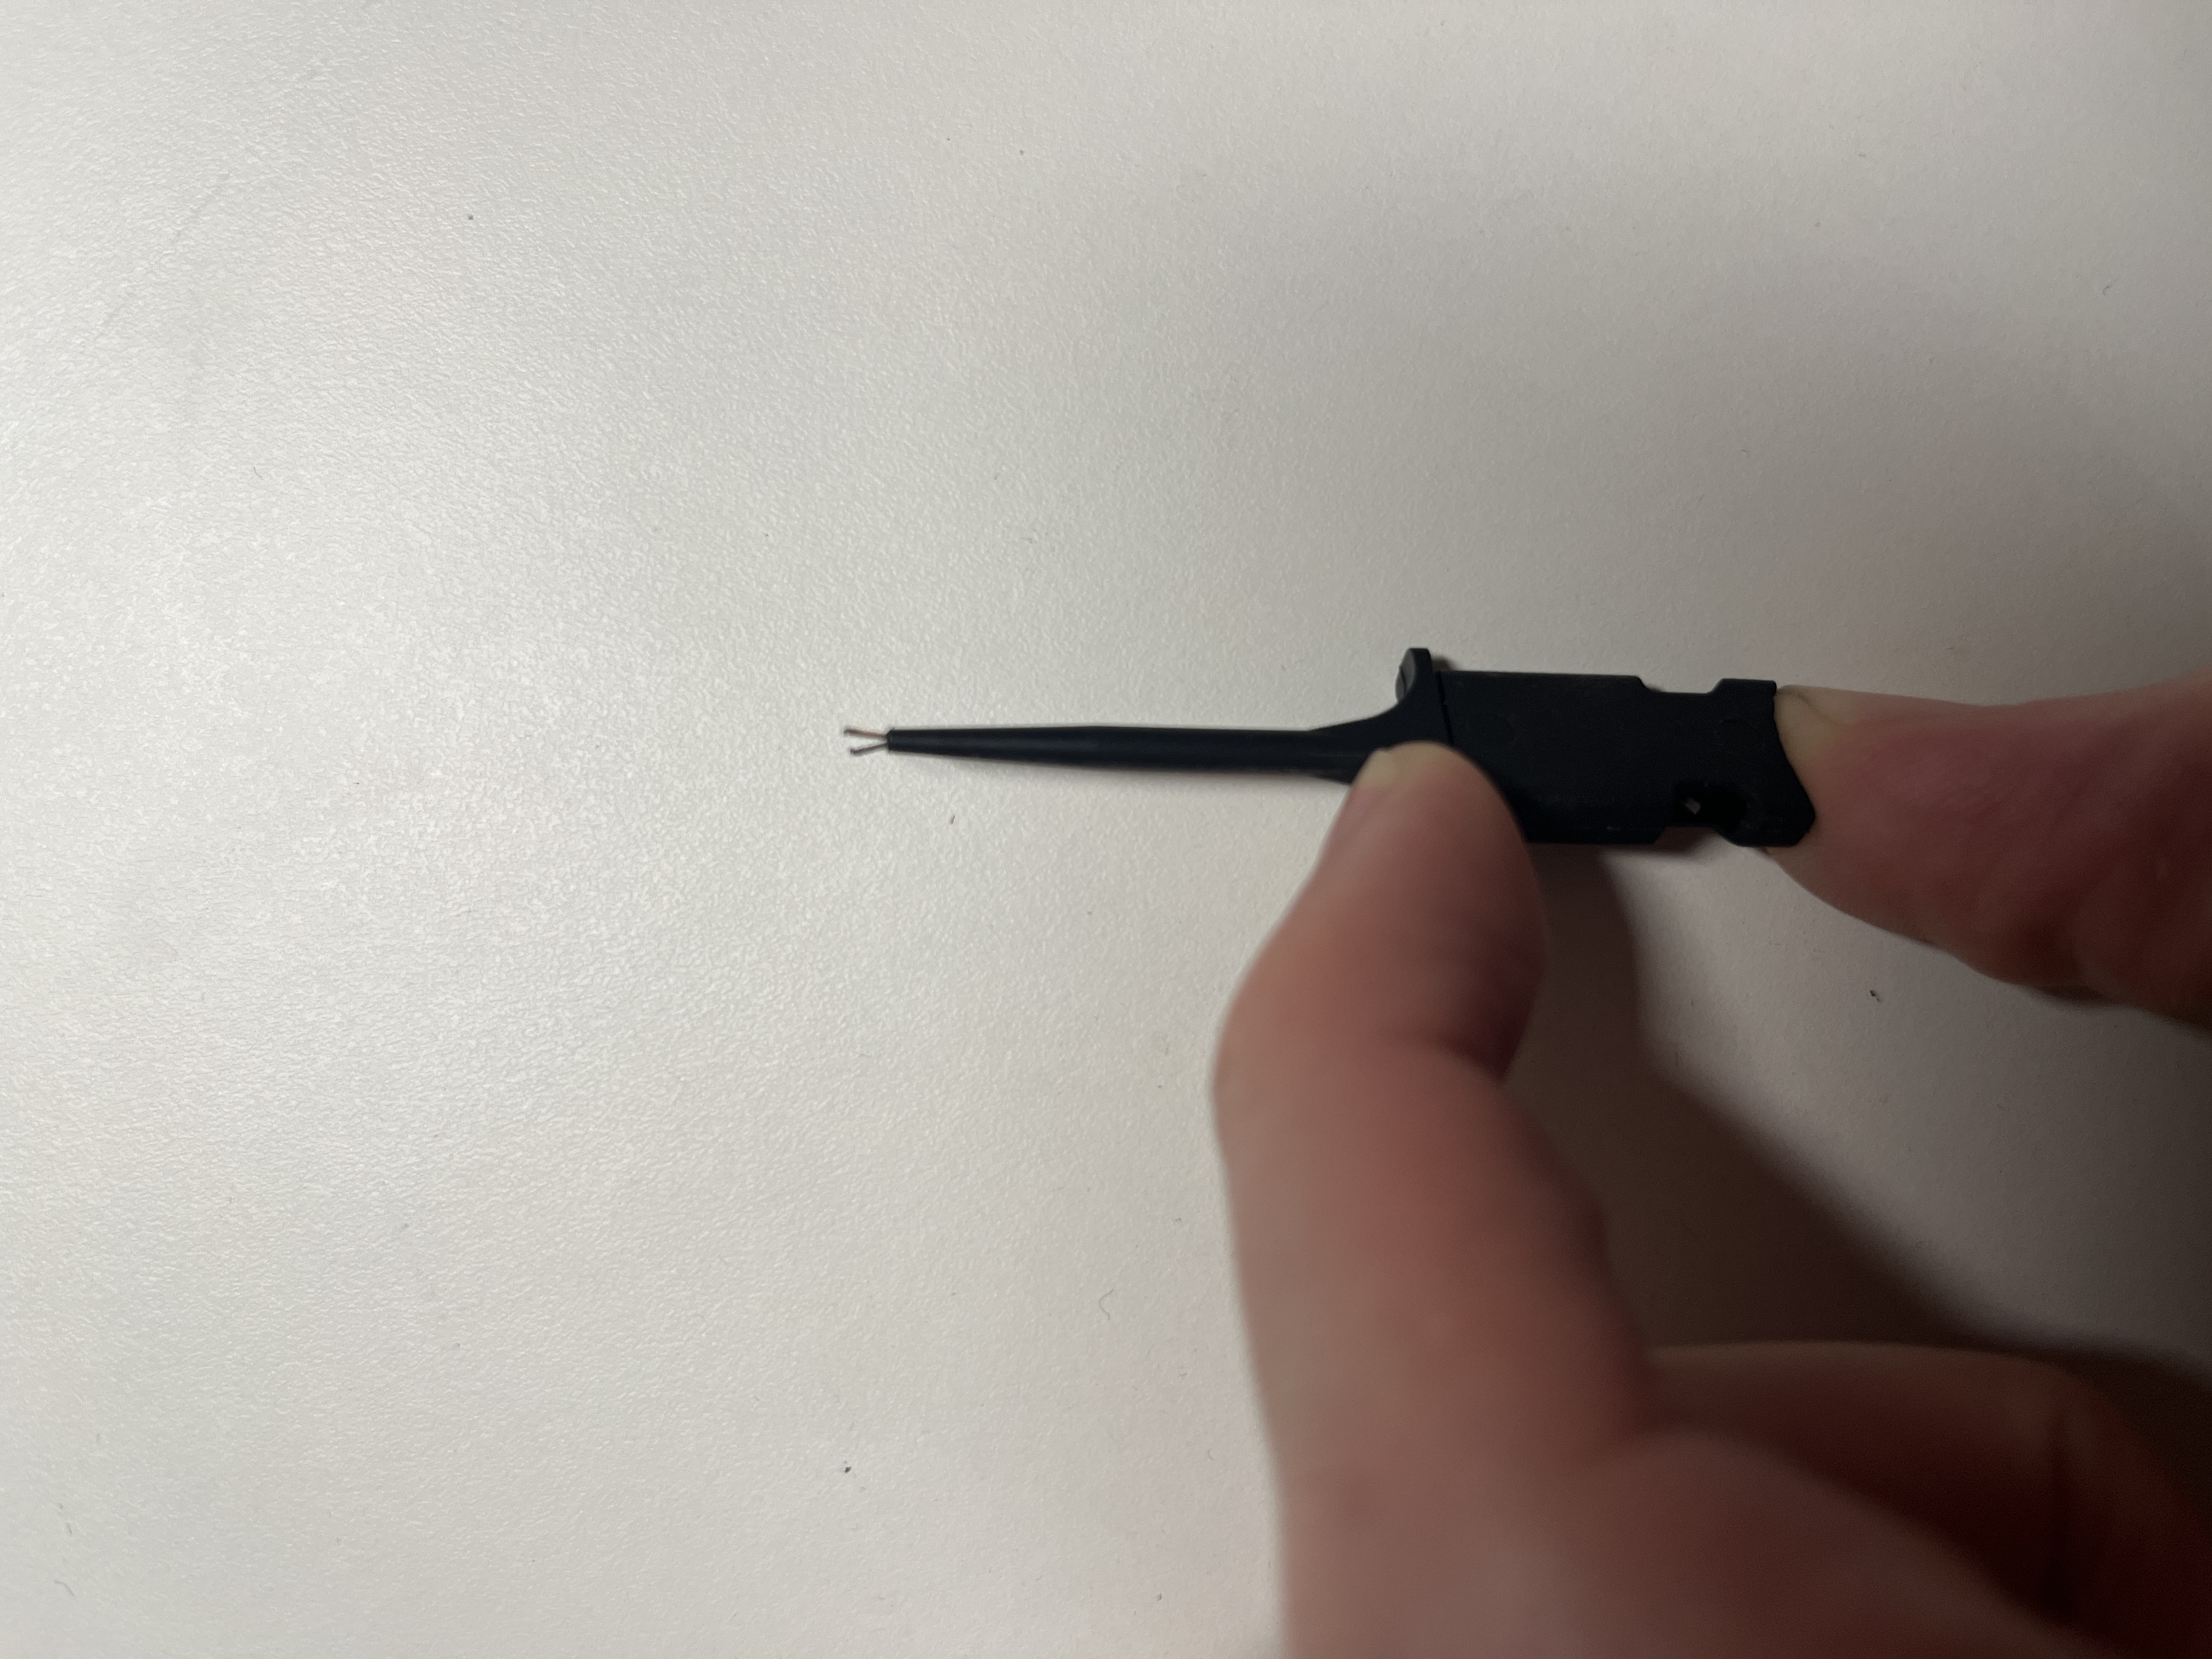
If you own clamps or grabbers, you can use them to hook them up to the UART connector. These clamps have small hooks which you can hookup to the connector. This is not very usable if you only have flat connector pads.
Clamp with Hook
Here an example when the clamps are attached:
Clamps attached
{% endtab %}
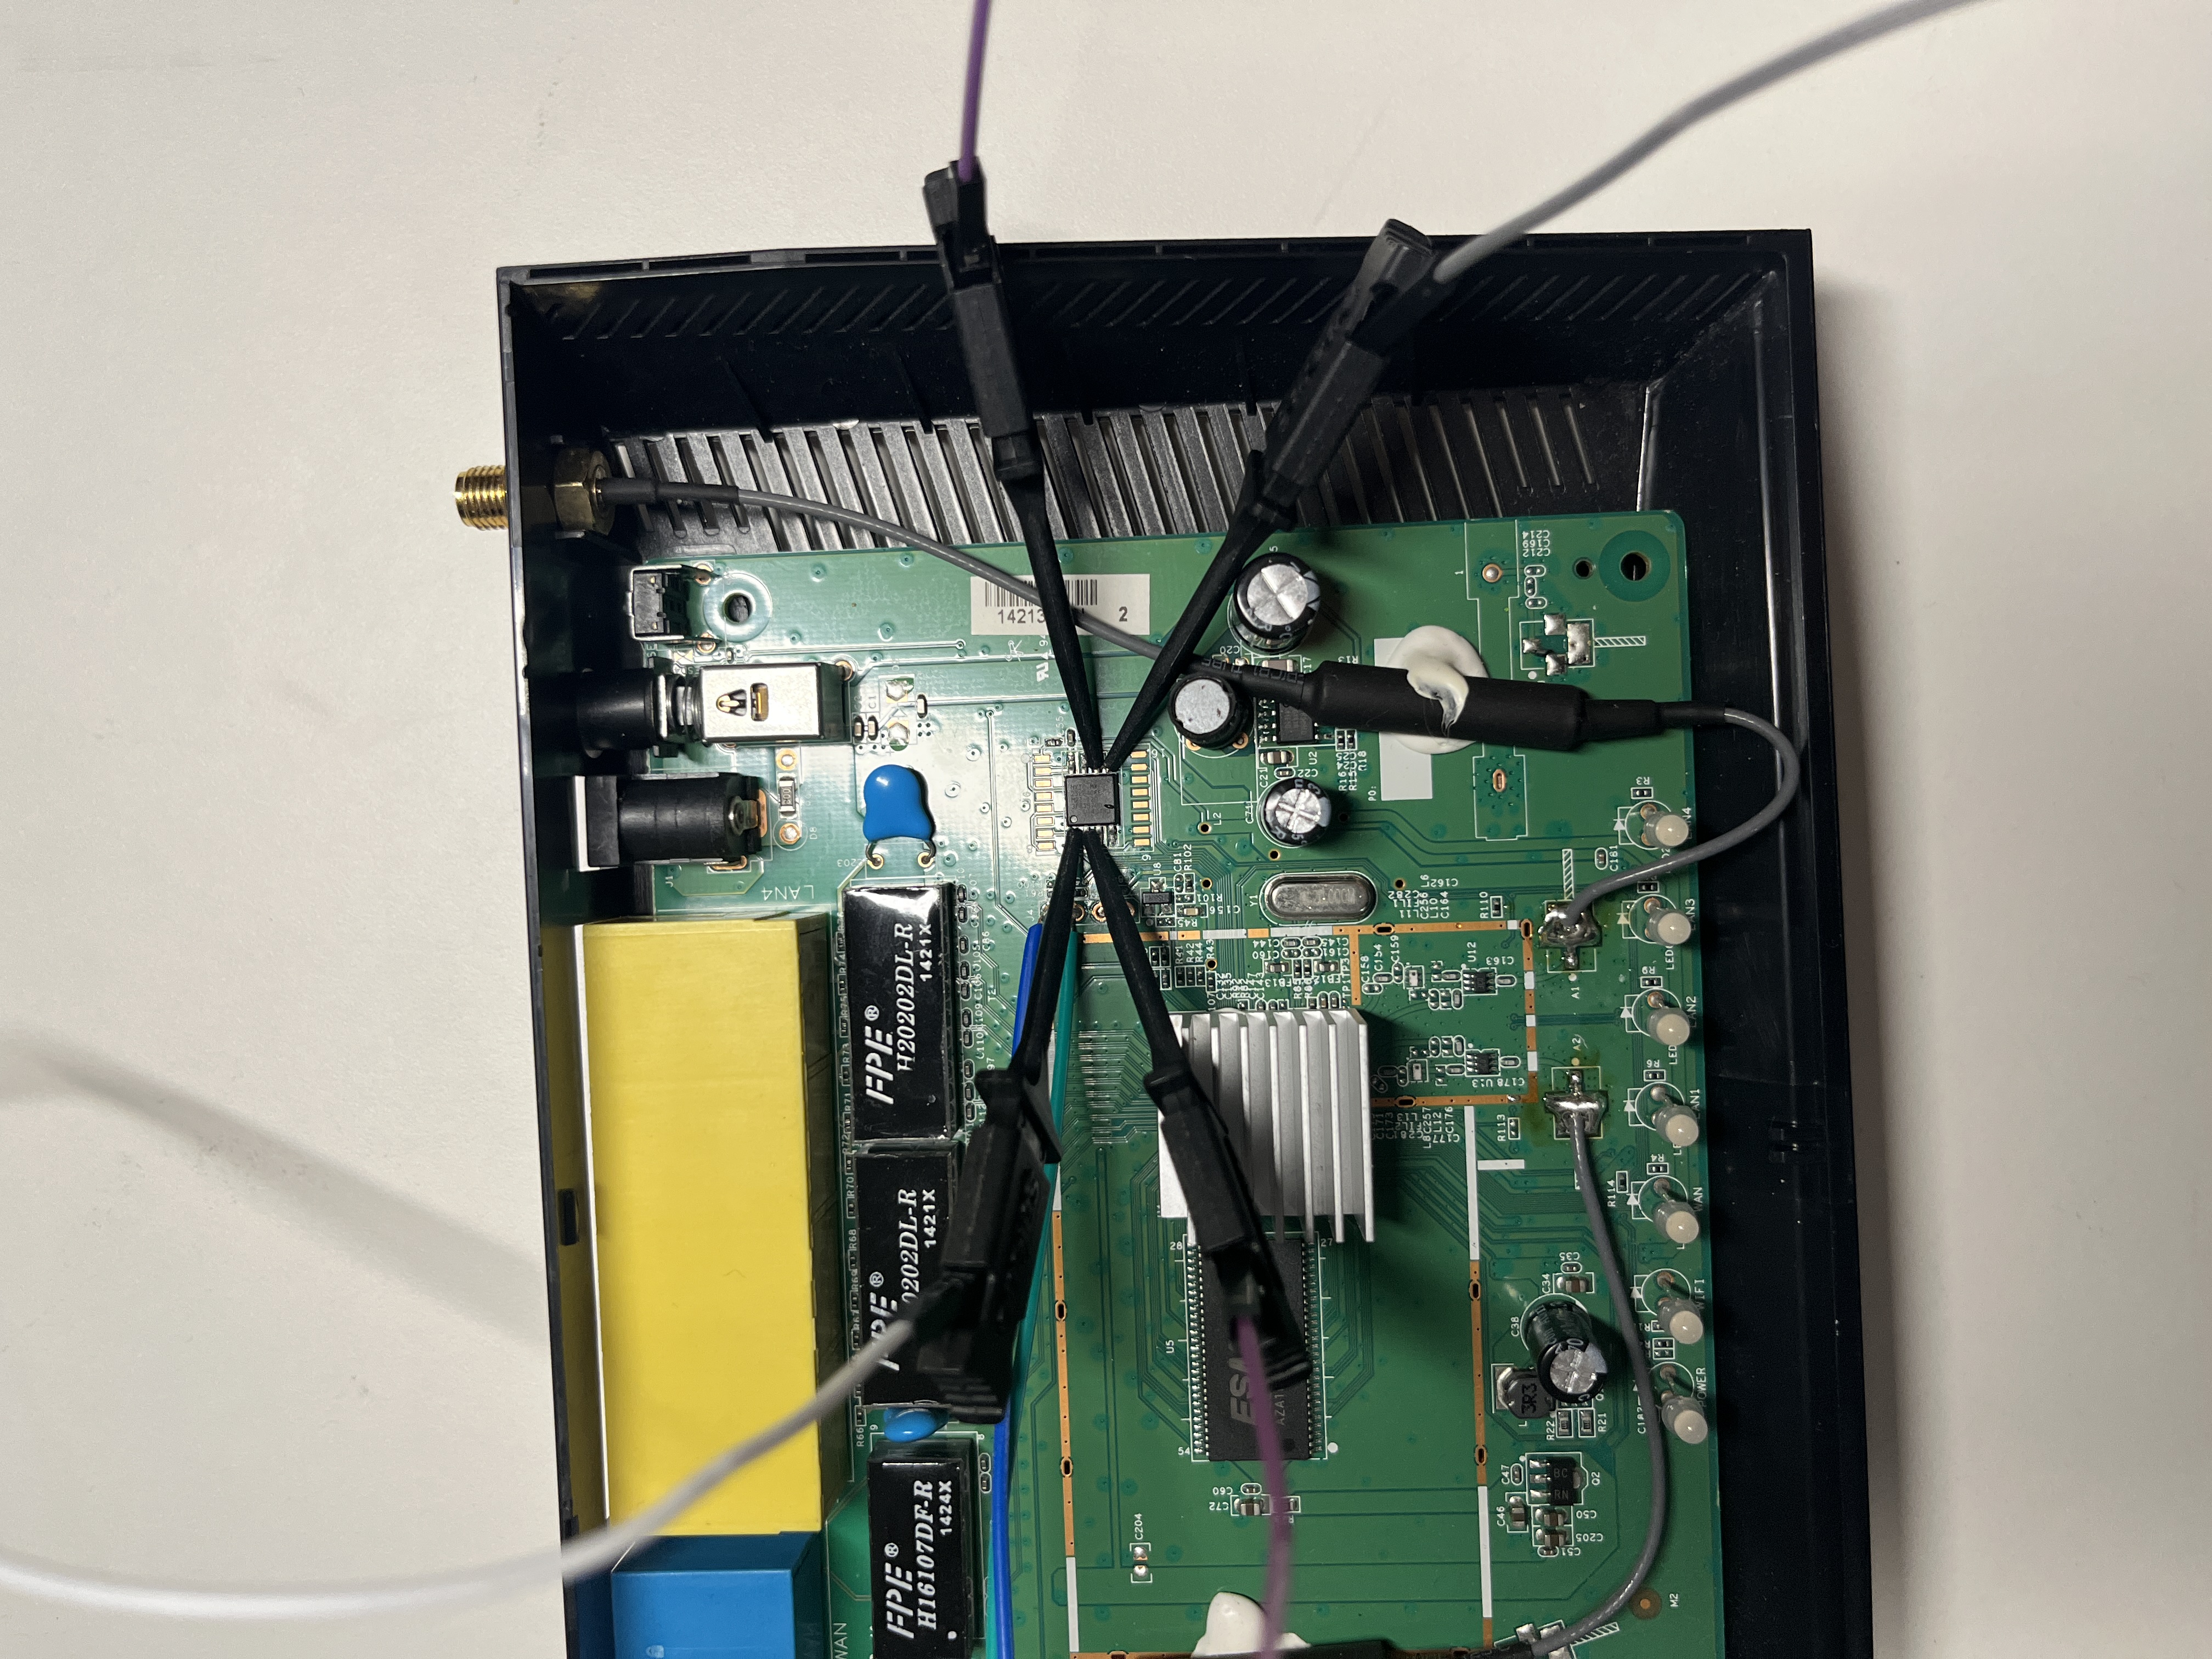
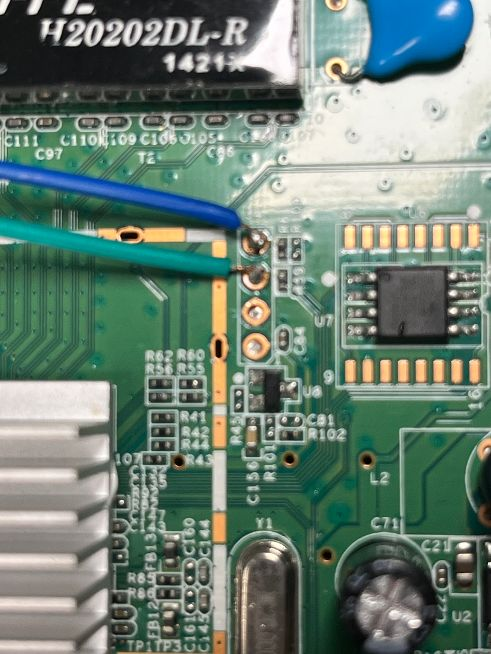
{% tab title="Soldering" %}
Another option is to solder cables to the connector you found. This is especially useful if you only find flat pads to connect to.
2 cables soldered to UART
{% endtab %}
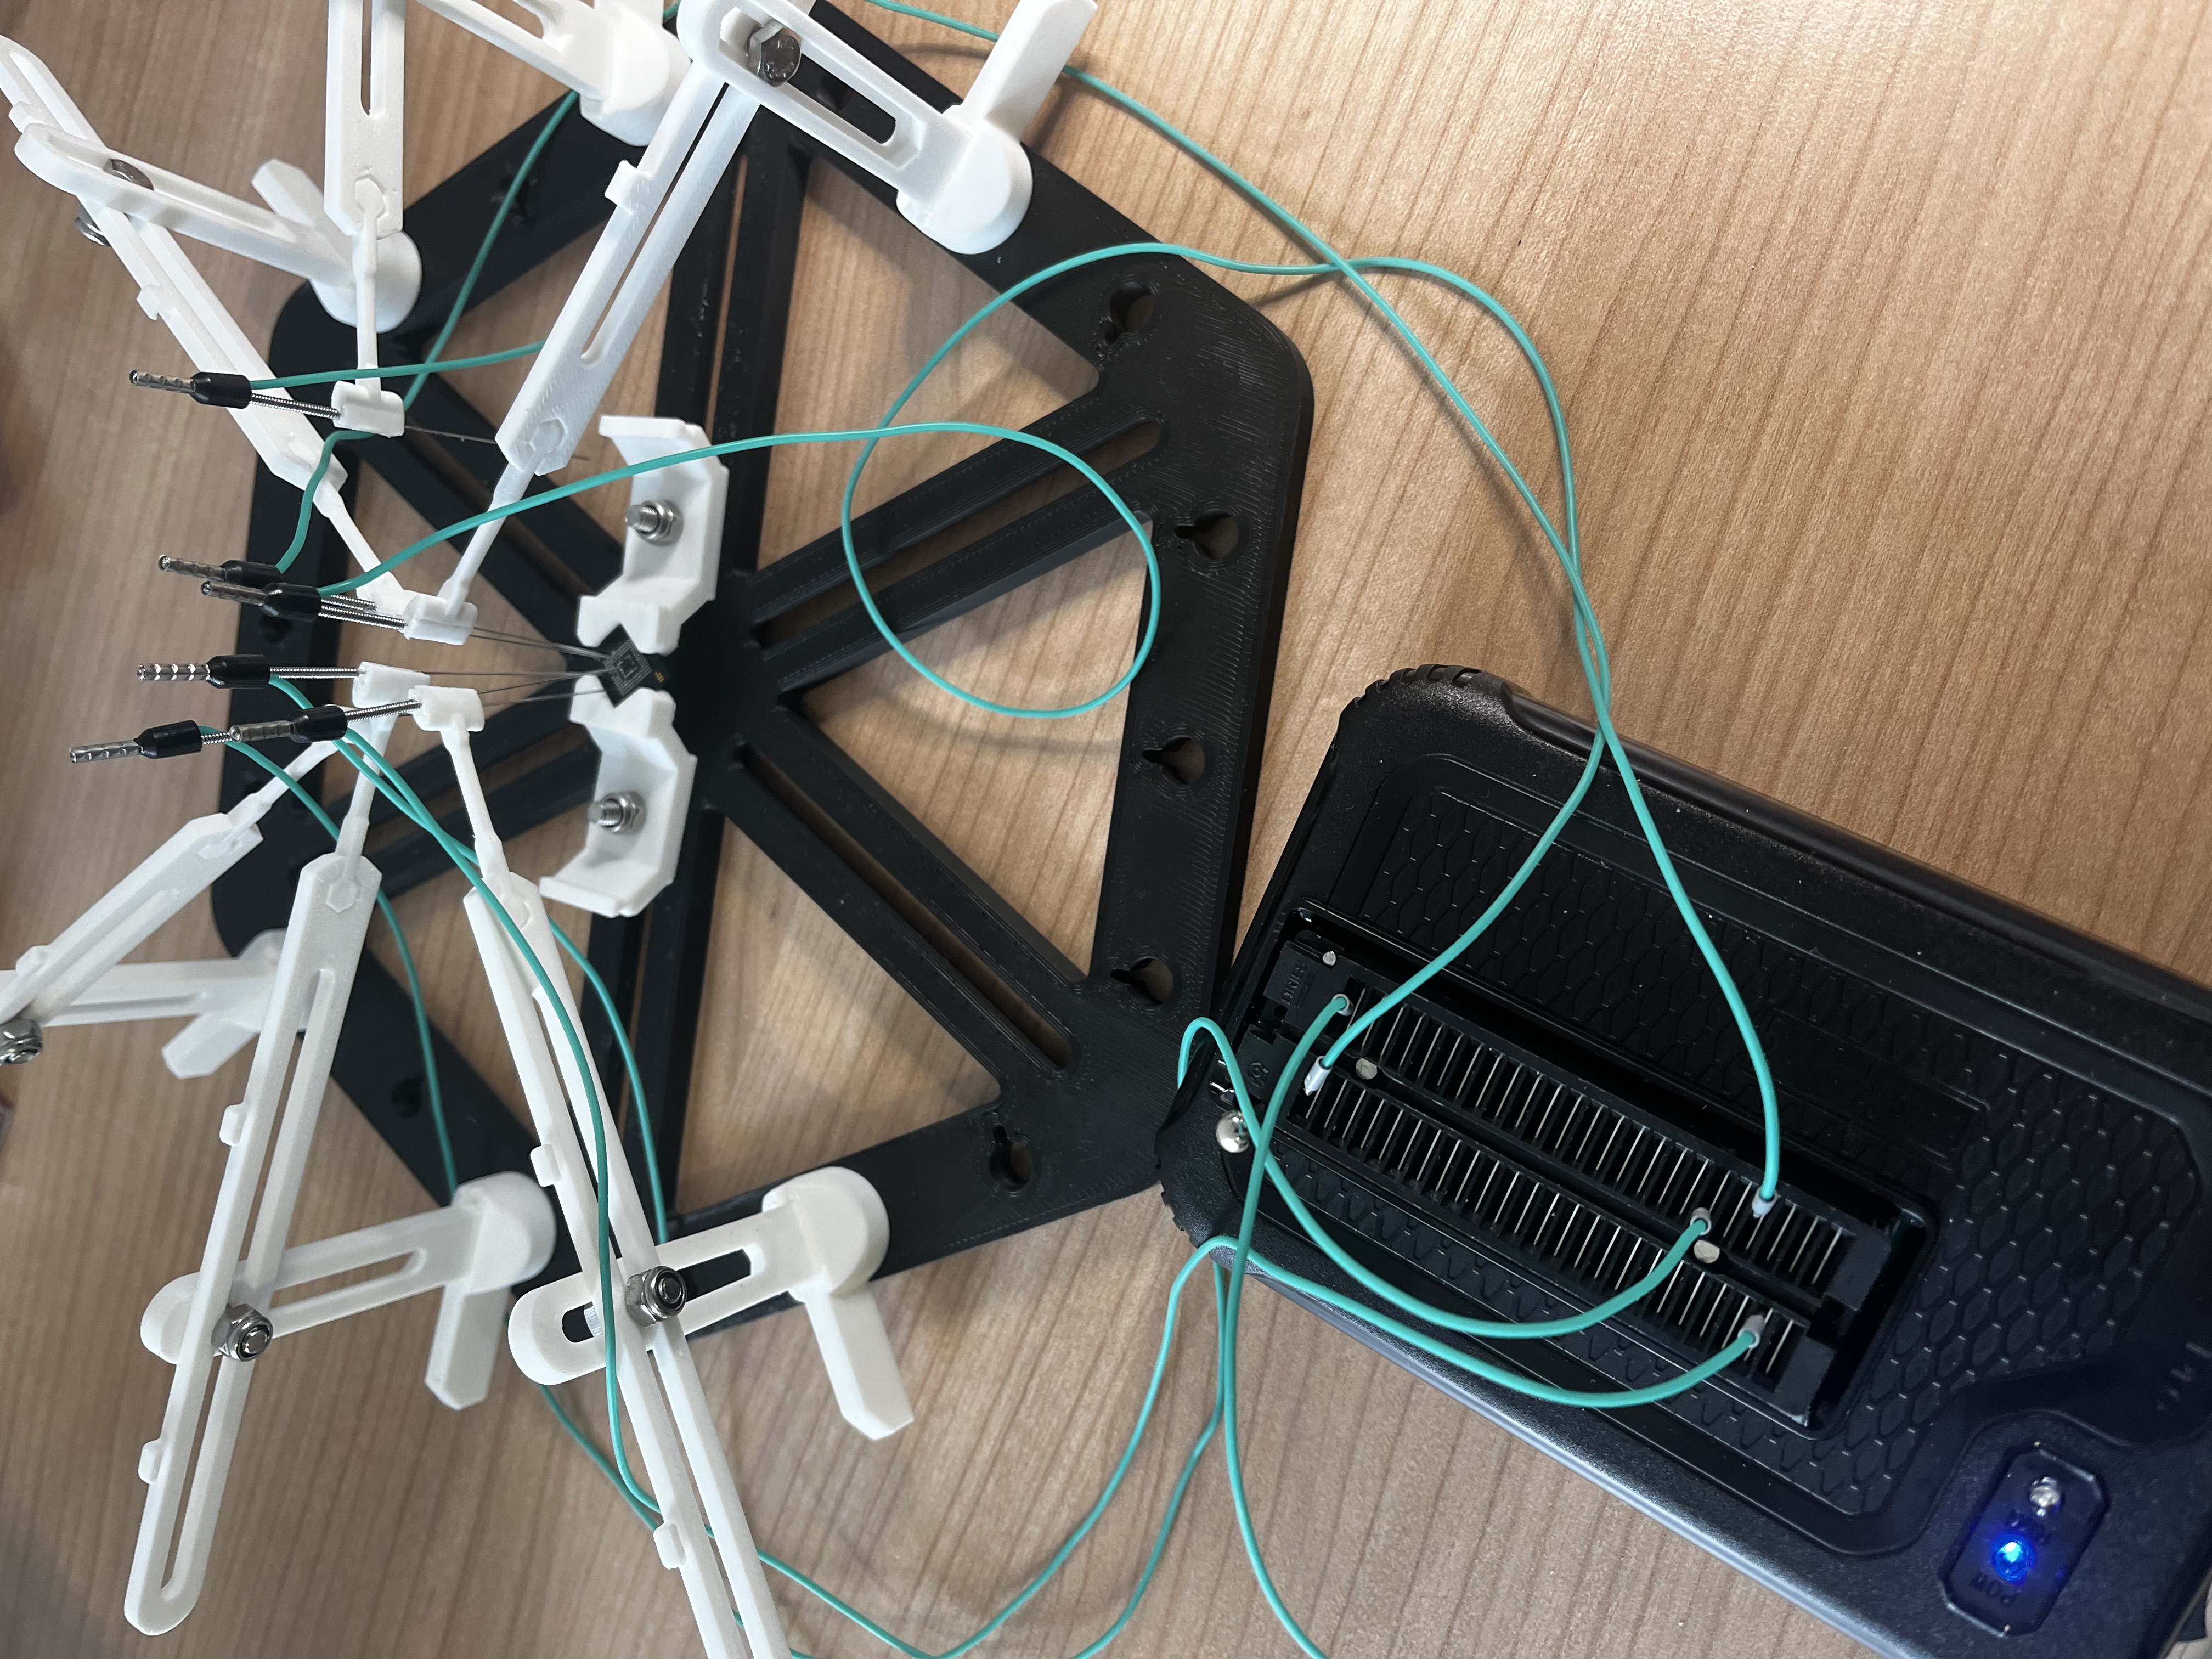
{% tab title="Probes" %}
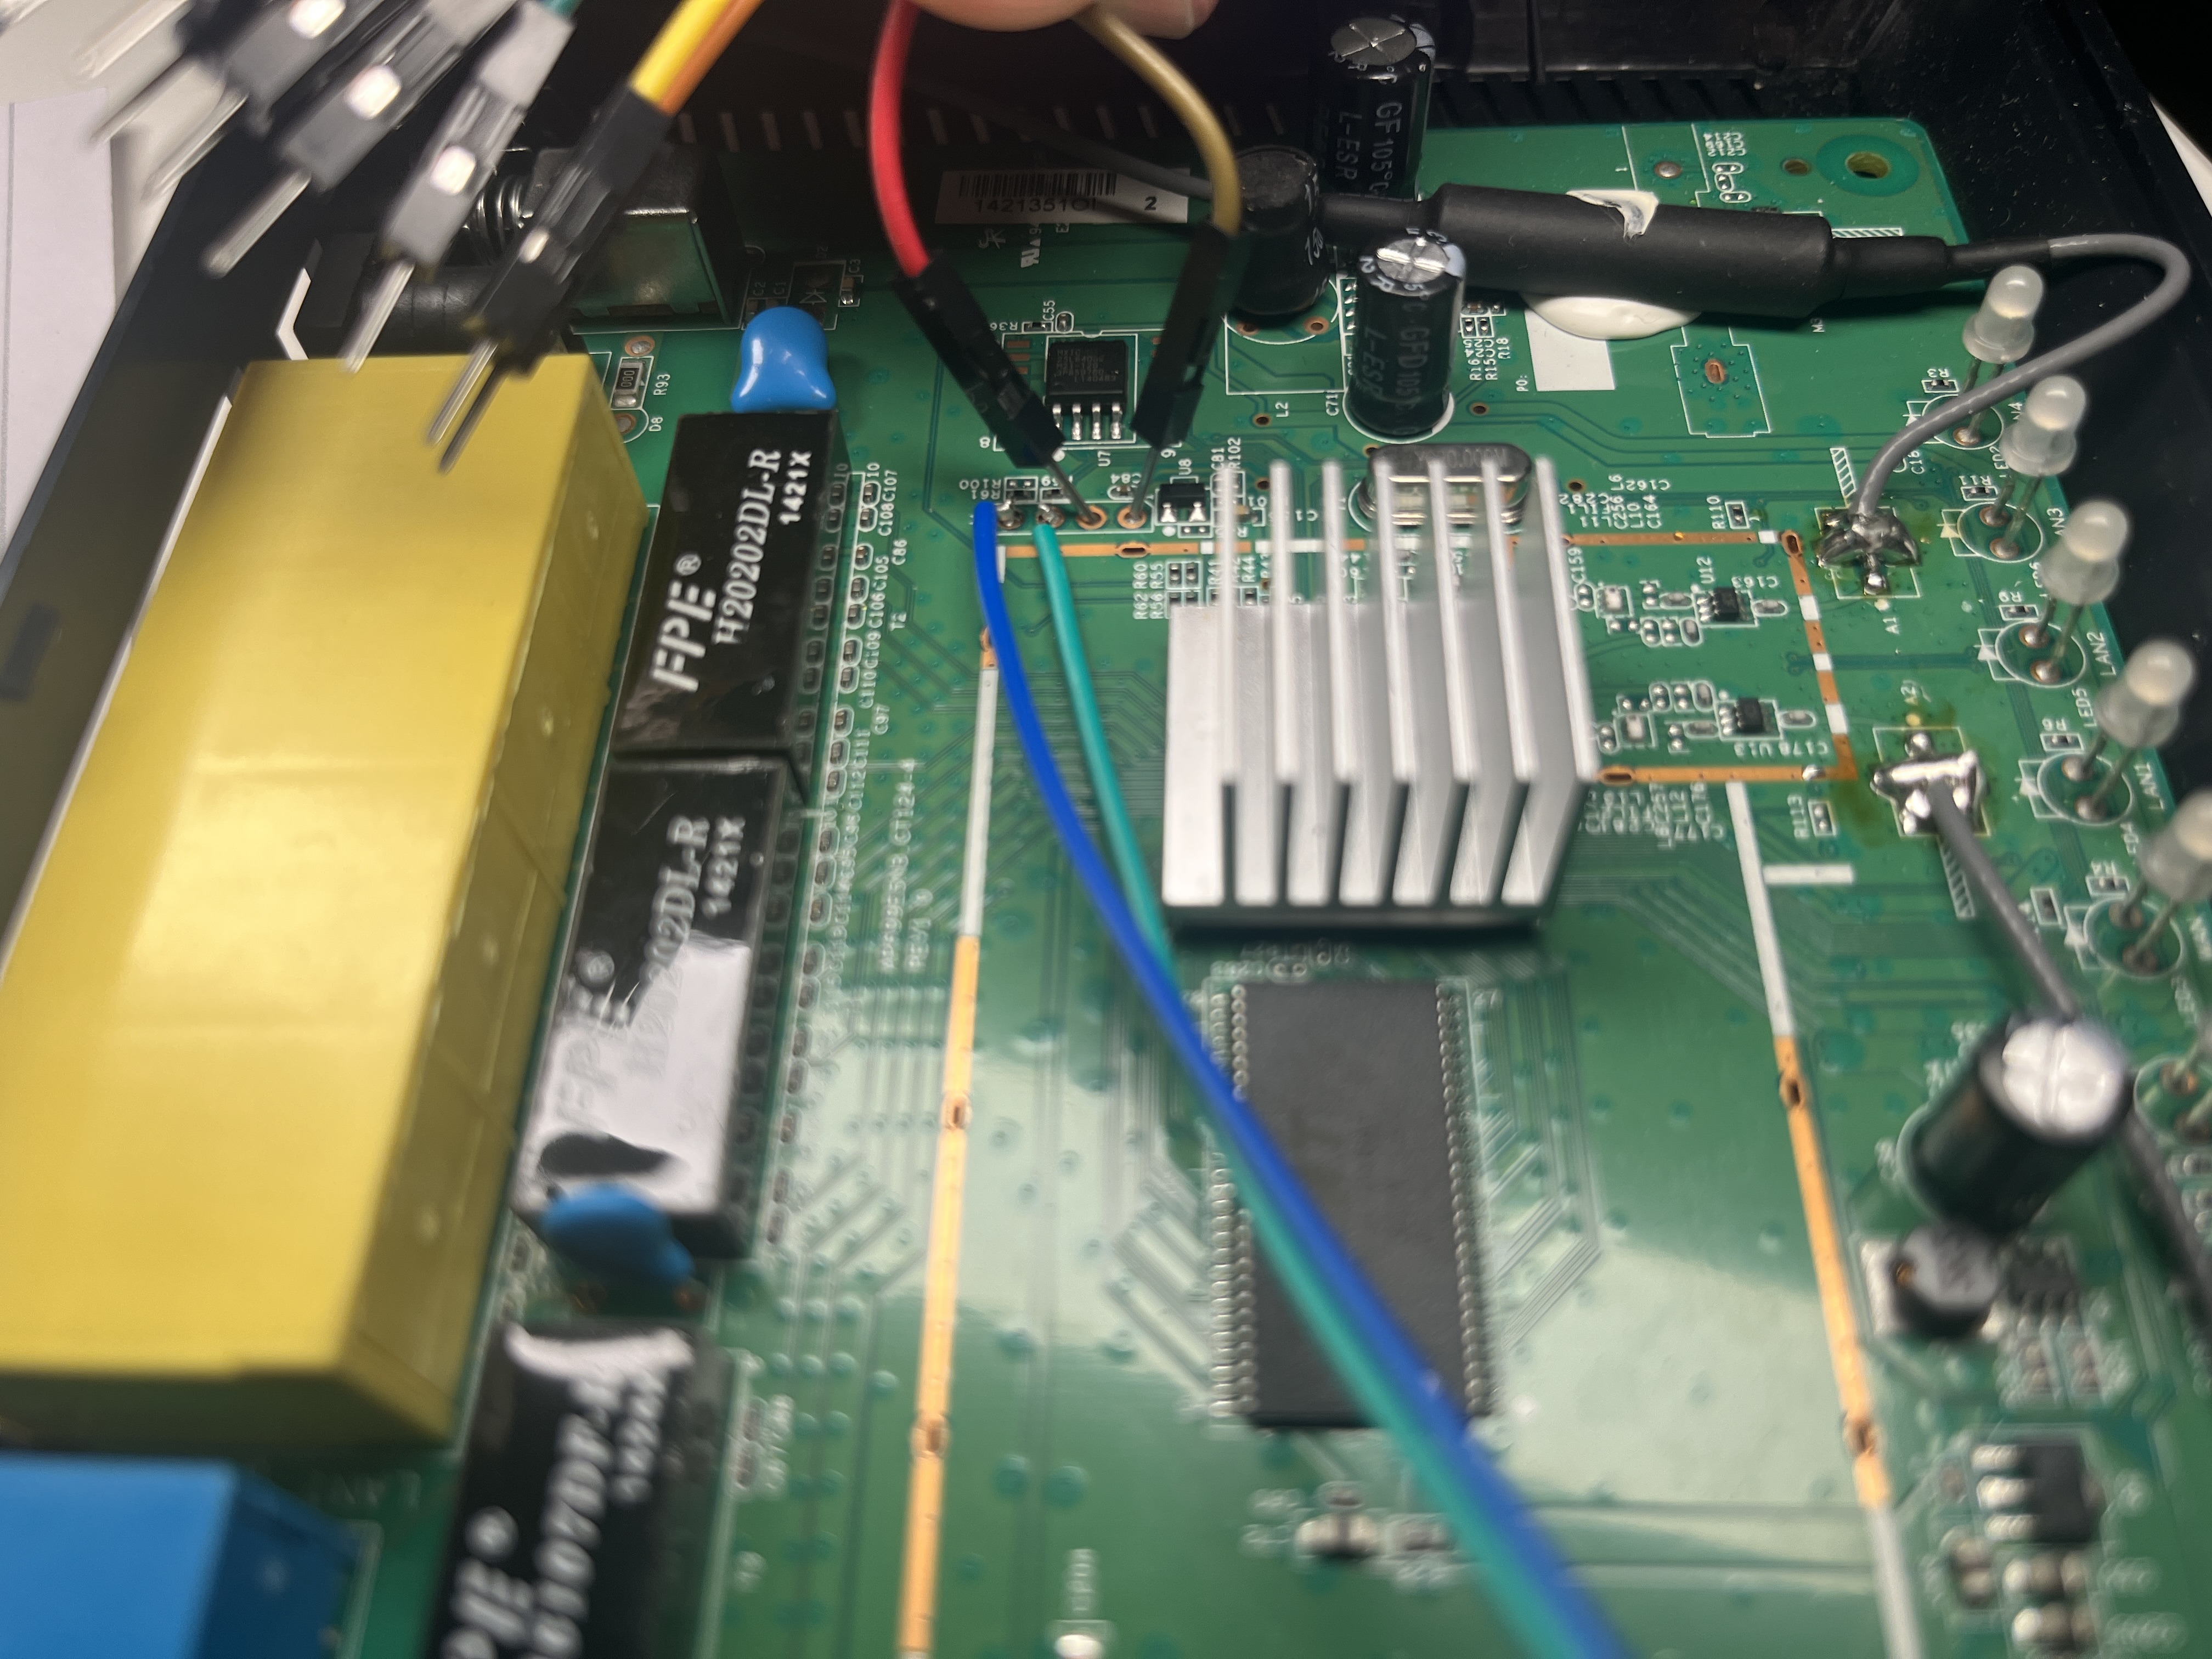
Next, you can also connect your adapter to the UART interface using probes like the professional [PCBite](https://sensepeek.com/) or self-printed versions like this one:
Connect the needle pins to the UART interface
{% endtab %}
{% endtabs %}
## Interact with UART
On your PC use the following command to communicate over UART (you may have to adjust the baud rate)
{% tabs %}
{% tab title="Linux" %}
Change the 115200 with the baud rate of your device (how to identify: see below)
{% endtab %}
{% tab title="Windows" %}
**Using PuTTY (Windows)**:
* Select “Serial” and enter the COM port (e.g., COM3) and baud rate (115200).
{% endtab %}
{% endtabs %}
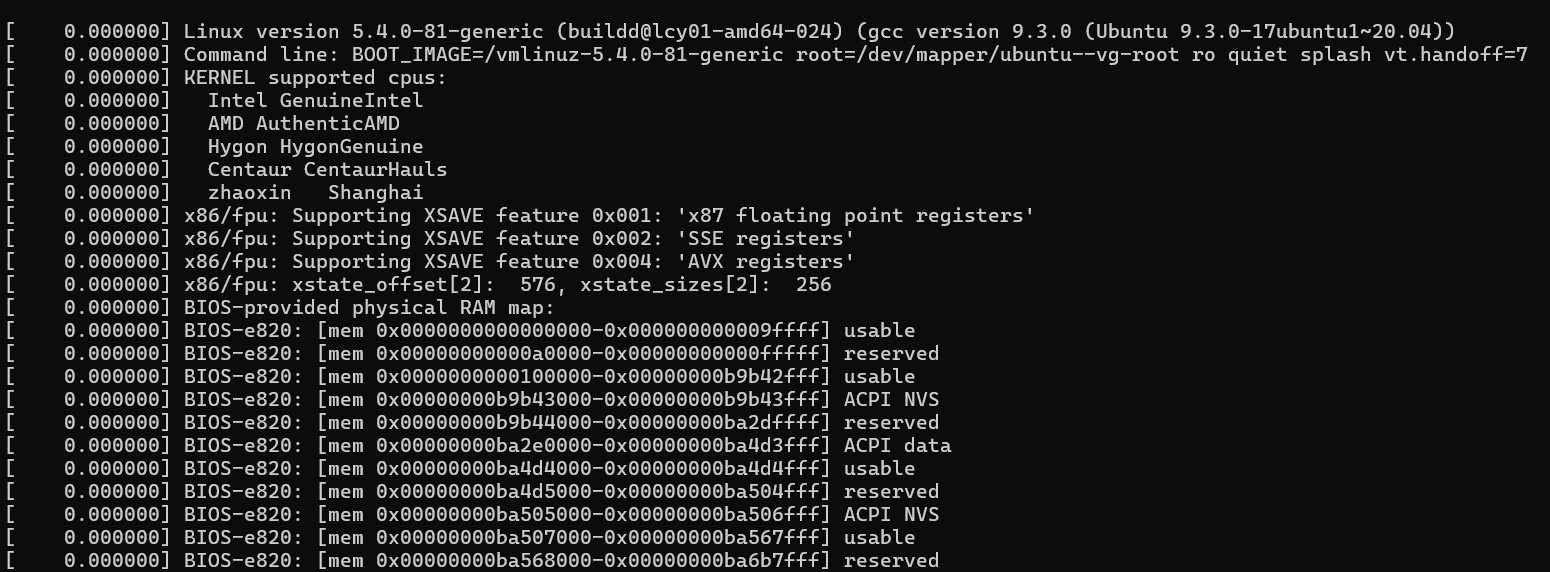
5. If you see readable data: You done it correctly!
Bootlog
6. **If you see unreadable data then you probably have the wrong baud rate. Example**
Wrong baud rate produces unreadable data
### **Identifying the correct baud rate**
* Quick win: Try to guess the baud rate, the most common ones are:
* 9600, 38400, 19200, 57600, 115200 (which is probably the most common of all)
* [Baudrate.py](https://github.com/sickcodes/python3-baudrate) is a script, which tests automatically for different baud rates
* You can also try to manually identify the correct baud rate using a [logic analyzer](https://www.hardbreak.wiki/hardware-hacking/basics/tools/hardware-tools/logic-analyzer)
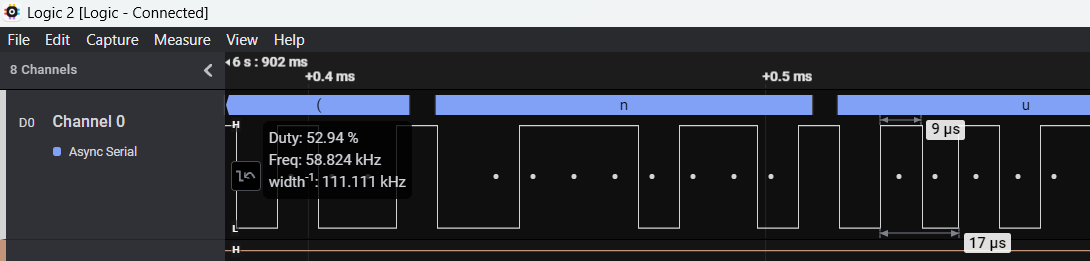
* When hovering your capture with the mouse in the Saleae Logic Software you can see the the width is equal to 111.111kHZ which is very close to 115200, so we should choose this baud rate
Use logic analyzer to get correct baud rate
**Congrats!** You found your first serial connection! Check out the UART chapter on how to use this to dump the firmware from the device.